How To Create Image Upload, Preview & Download using JavaScript & PHP
Hi there, reader You will discover today in this blog how to use PHP & JavaScript to Upload, Preview, and Download Images. I’ve previously posted a ton of articles on PHP, including Send Email from Localhost, Custom Simple PHP Chatbot, Login & Signup Form with Email Verification, and a ton more. It’s time to use PHP to construct another software, Easy Image Download via URL.
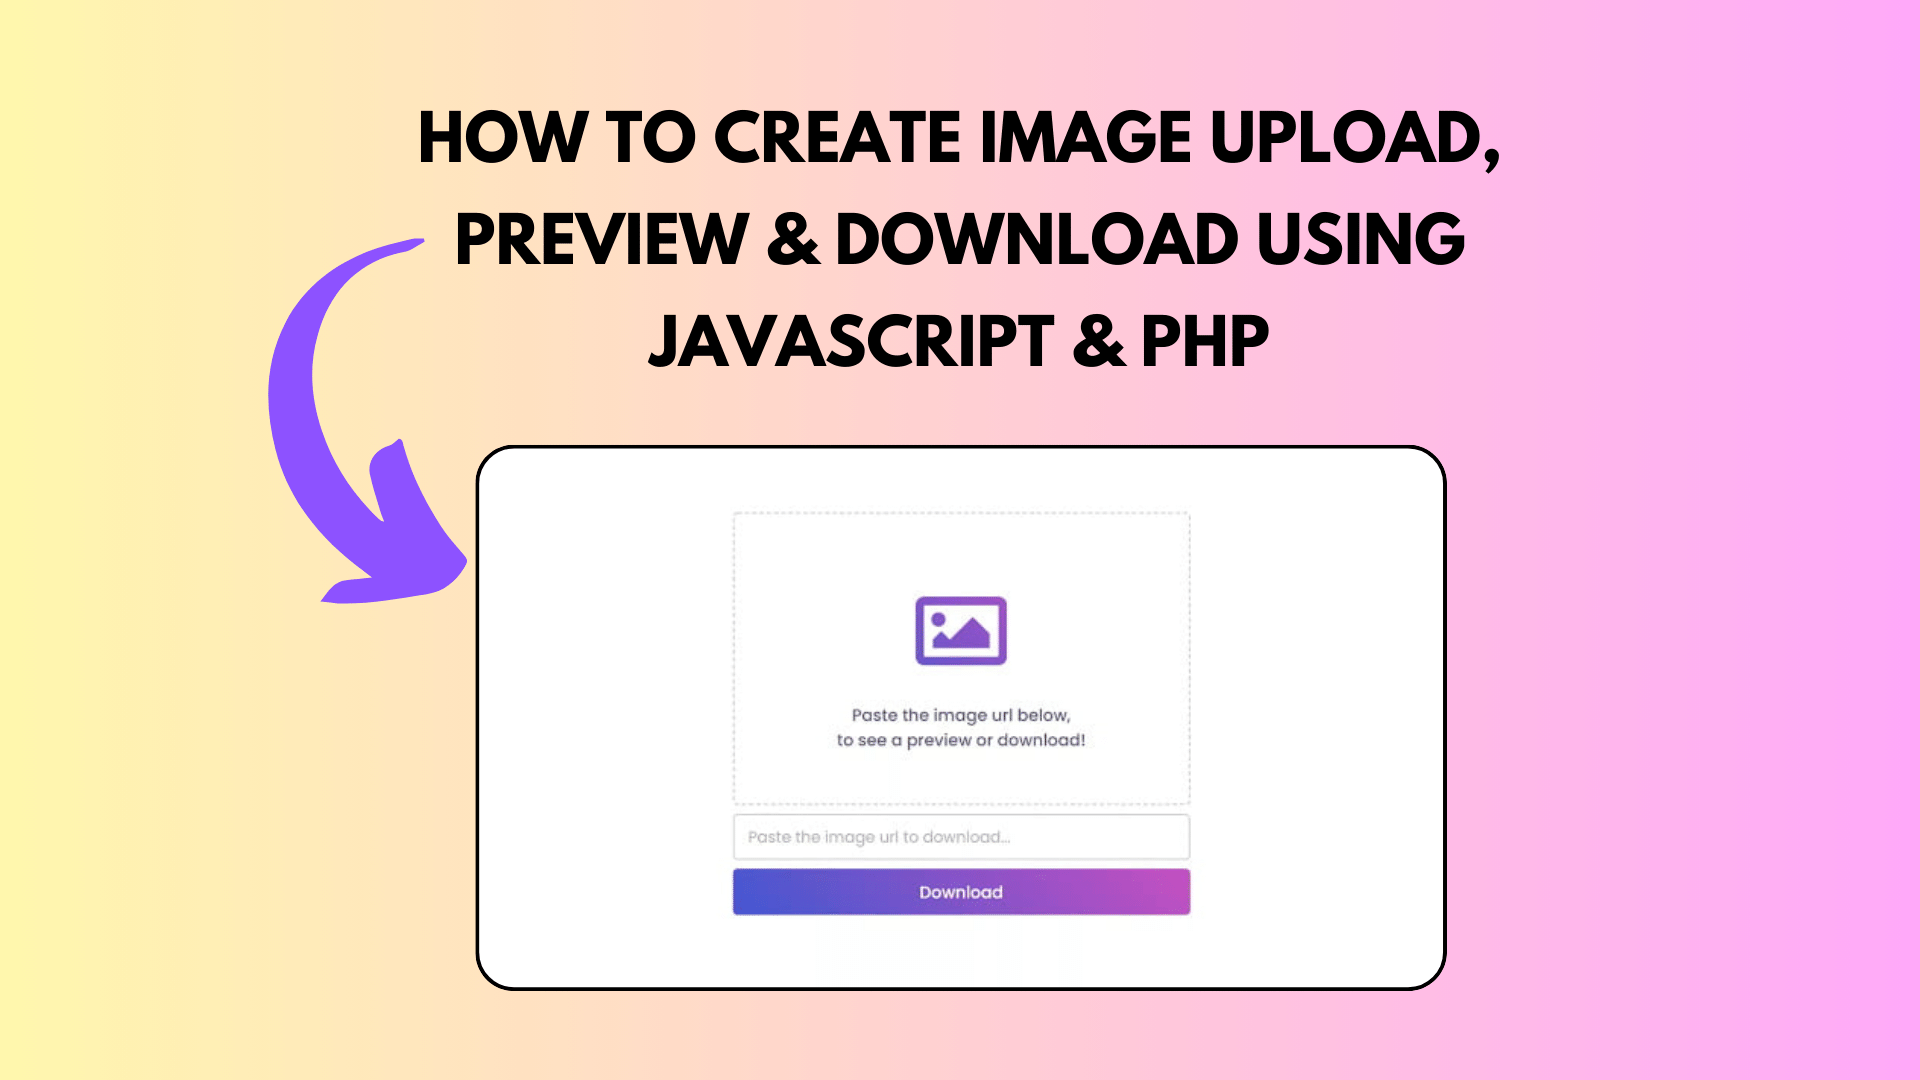
The homepage for this software [Image Download using PHP] has an image preview box with an icon for an image gallery, an input area where the image URL may be pasted, and a download button. The user may only upload photos into this thoroughly validated input box. No other URLs may be uploaded.
An picture preview appears when you paste a legitimate image URL with a.png or.jpeg extension, and a download button that allows you to download the image is also active. By default, the download option is initially disabled. The picture is downloaded as soon as you click the download button.
if it’s hard for you to comprehend what I’m saying. A comprehensive video instruction for this application may be viewed here: [Download Image with JavaScript & PHP].
A PHP & JavaScript Video Tutorial for Downloading Images
You saw in the movie how PHP allows us to download any image with only one click. I hope you now understand the fundamental codes used to create this software. I’ve merely made the Image Download Program’s design in this video. I’ve finished the program’s PHP and JavaScript coding in the second segment of this video. Please watch this video if you haven’t already, since I’ve explained every line of PHP and JavaScript code in the comments.
You Might Like This:
- How To Password Reset and Recovery System in PHP and MySQL
- How To Guide to Enable Email Sending with XAMPP and PHP
- Creating a Contact Form in PHP for Your Website
- How to Fix the “$ operator is invalid for atomic vectors” Error in R
This design is entirely based on HTML and CSS, but I also utilized JavaScript to check image extensions, display picture previews, and download photos using cUrl in PHP. A tool for transmitting files and data using URL syntax, cURL is compatible with a number of protocols, including HTTP, FTP, TELNET, and others.
Download Image in JavaScript & PHP [Source Codes]
To create this program [Image Download using PHP]. First, you need to create two Files one PHP File and another one is CSS File. After creating these files just paste the following codes in your file. First, create a PHP file with the name of index.php and paste the given codes in your PHP file. Remember, you’ve to create a file with .php extension.
<!-- Created By CodingNepal -->
<?php
//if download button clicked
if(isset($_POST['downloadBtn'])){
    //getting the user img url from input field
    $imgURL = $_POST['file']; //storing in variable
    $regPattern = '/\.(jpe?g|png|gif|bmp)$/i'; //pattern to validataing img extension
    if(preg_match($regPattern, $imgURL)){ //if pattern matched to user img url
        $initCURL = curl_init($imgURL); //intializing curl
        curl_setopt($initCURL, CURLOPT_RETURNTRANSFER, true);
        $downloadImgLink = curl_exec($initCURL); //executing curl
        curl_close($initCURL); //closing curl
        // now we convert the base 64 format to jpg to download
        header('Content-type: image/jpg'); //in which extension you want to save img
        header('Content-Disposition: attachment;filename="image.jpg"'); //in which name you want to save img
        echo $downloadImgLink;
    }
}
?>
<!DOCTYPE html>
<html lang="en">
<head>
    <meta charset="UTF-8">
    <title>Image Download in PHP | CodingNepal</title>
    <link rel="stylesheet" href="style.css">
    <link rel="stylesheet" href="https://cdnjs.cloudflare.com/ajax/libs/font-awesome/5.15.3/css/all.min.css"/>
    <script src="https://code.jquery.com/jquery-3.5.1.min.js"></script>
</head>
<body>
    <div class="wrapper">
        <div class="preview-box">
            <div class="cancel-icon"><i class="fas fa-times"></i></div>
            <div class="img-preview"></div>
            <div class="content">
                <div class="img-icon"><i class="far fa-image"></i></div>
                <div class="text">Paste the image url below, <br/>to see a preview or download!</div>
            </div>
        </div>
        <form action="index.php" method="POST" class="input-data">
            <input id="field" type="text" name="file" placeholder="Paste the image url to download..." autocomplete="off">
            <input id="button" name="downloadBtn" type="submit" value="Download">
        </form>
    </div>

    <script>
        $(document).ready(function(){
            //if user focus out from the input field
            $("#field").on("focusout", function(){
                //getting user entered img URL
                var imgURL = $("#field").val();
                if(imgURL != ""){ //if input field isn't blank
                    var regPattern = /\.(jpe?g|png|gif|bmp)$/i; //pattern to validataing img extension
                    if(regPattern.test(imgURL)){ //if pattern matched to image url
                        var imgTag = '<img src="'+ imgURL +'" alt="">'; //creating a new img tag to show img
                        $(".img-preview").append(imgTag); //appending img tag with user entered img url
                        // adding new class which i've created in css
                        $(".preview-box").addClass("imgActive");
                        $("#button").addClass("active");
                        $("#field").addClass("disabled");
                        $(".cancel-icon").on("click", function(){
                            //we'll remove all new added class on cancel icon click
                            $(".preview-box").removeClass("imgActive");
                            $("#button").removeClass("active");
                            $("#field").removeClass("disabled");
                            $(".img-preview img").remove();
                            // that's all in javascript/jquery now the main part is PHP
                        });
                    }else{
                        alert("Invalid img URL - " + imgURL);
                        $("#field").val('');//if pattern not matched we'll leave the input field blank
                    }
                }
            });
        });
    </script>

</body>
</html>
Second, create a CSS file with the name of style.css and paste the given codes in your CSS file. Remember, you’ve to create a file with .css extension.
@import url('https://fonts.googleapis.com/css2?family=Poppins:wght@200;300;400;500;600;700&display=swap');
*{
    margin: 0;
    padding: 0;
    box-sizing: border-box;
    font-family: 'Poppins', sans-serif;
}
html,body{
    display: grid;
    height: 100%;
    place-items: center;
}
::selection{
   color: #fff;
   background: #4158d0;
}
.wrapper{
    height: 450px;
    width: 500px;
    display: flex;
    align-items: center;
    justify-content: space-between;
    flex-direction: column;
}
.wrapper .preview-box{
    position: relative;
    width: 100%;
    height: 320px;
    display: flex;
    text-align: center;
    align-items: center;
    justify-content: center;
    border-radius: 5px;
    border: 2px dashed #c2cdda;
}
.preview-box.imgActive{
    border: 2px solid transparent;
}
.preview-box .cancel-icon{
    position: absolute;
    right: 20px;
    top: 10px;
    z-index: 999;
    color: #4158d0;
    font-size: 20px;
    cursor: pointer;
    display: none;
}
.preview-box.imgActive:hover .cancel-icon{
    display: block;
}
.preview-box .cancel-icon:hover{
    color: #ff0000;
}
.preview-box .img-preview{
    height: 100%;
    width: 100%;
    position: absolute;
}
.preview-box .img-preview img{
    height: 100%;
    width: 100%;
    border-radius: 5px;
}
.wrapper .preview-box .img-icon{
    font-size: 100px;
    background: linear-gradient(-135deg, #c850c0, #4158d0);
    background-clip: text;
    -webkit-background-clip: text;
    -webkit-text-fill-color: transparent;
}
.wrapper .preview-box .text{
    font-size: 18px;
    font-weight: 500;
    color: #5B5B7B;
}
.wrapper .input-data{
    height: 130px;
    width: 100%;;
    display: flex;
    align-items: center;
    justify-content: space-evenly;
    flex-direction: column;
}
.wrapper .input-data #field{
    width: 100%;
    height: 50px;
    outline: none;
    font-size: 17px;
    padding: 0 15px;
    user-select: auto;
    border-radius: 5px;
    border: 2px solid lightgrey;
    transition: all 0.3s ease;
}
.input-data #field.disabled{
    color: #b3b3b3;
    pointer-events: none;
}
.wrapper .input-data #field:focus{
    border-color: #4158d0;
}
.input-data #field::placeholder{
    color: #b3b3b3;
}
.wrapper .input-data #button{
    height: 50px;
    width: 100%;
    border: none;
    outline: none;
    color: #fff;
    font-weight: 500;
    font-size: 18px;
    cursor: pointer;
    border-radius: 5px;
    opacity: 0.5;
    pointer-events: none;
    background: linear-gradient(-135deg, #c850c0, #4158d0);
    transition: all 0.3s ease;
}
.input-data #button.active{
    opacity: 1;
    pointer-events: auto;
}
.input-data #button:active{
    transform: scale(0.99);
}
That’s all; your How to Upload, Preview, and Download Image Using JavaScript & PHP has now been made successfully. Please download the source code files using the provided download button if your code isn’t working or if you’re having any errors or problems. It is cost-free and requires you to extract the downloaded.zip file.